Principais Integrações e Extensões de Fluxo de Trabalho para KeyShot

15/01/2026

Se você usa KeyShot regularmente, provavelmente o vê como um estúdio autônomo—um lugar onde você importa a geometria e fica até que a renderização esteja concluída. Mas tratar o KeyShot como uma ilha o atrasa.
Ao contrário de softwares com grandes marketplaces de plugins (como Blender ou SketchUp), as "extensões" do KeyShot são focadas principalmente em uma coisa: preencher a lacuna entre seus dados CAD e sua imagem final.
Os fluxos de trabalho mais eficazes do KeyShot dependem de uma integração estreita com ferramentas de modelagem e scripts de automação que lidam com as partes tediosas da renderização.
Aqui estão as integrações e extensões essenciais que realmente impactam os fluxos de trabalho profissionais.
1/ As "Pontes de LiveLinking"
O "plugin" mais importante para qualquer usuário do KeyShot é a ponte LiveLinking para o seu software de modelagem específico.
Muitos usuários ainda exportam arquivos .obj ou .step manualmente, os importam no KeyShot, aplicam materiais, percebem que precisam de uma alteração na geometria, voltam para o CAD, reexportam e começam novamente. Isso é um enorme desperdício de tempo.
O que eles fazem:
Os plugins LiveLinking criam uma conexão direta entre seu software CAD e o KeyShot.
Por que isso importa:
Você pode enviar atualizações de geometria de sua ferramenta de modelagem para o KeyShot sem perder suas atribuições de material, configuração de iluminação ou ângulos de câmera. Isso transforma a renderização em um processo paralelo em vez de um passo final.
Melhor para:
Fases de design iterativo onde a geometria ainda está evoluindo.
Principais versões para instalar:
KeyShot para SolidWorks: Suporta estudos de movimento e atribuições de cores.
KeyShot para Rhino: Maneja estruturas de camadas e vistas salvas perfeitamente.
KeyShot para SketchUp: Essencial para arquitetos manterem a hierarquia da cena.
KeyShot para Fusion 360: Simplifica o ciclo de design de produto.
2/ Python Scripting (A "Extensão Oculta")
O KeyShot possui um motor de extensão poderoso embutido, mas a maioria dos designers o ignora porque parece código. O Console de Scripting (Janela > Console de Scripting) permite automatizar tarefas repetitivas que, de outra forma, levariam horas de cliques.
O que ele faz:
Executa scripts Python para processar em lote ações como renderizar múltiplas variações de materiais, gerar turntables, ou renomear milhares de ativos de cena.
Por que isso importa:
Remove o erro humano e libera seu tempo. Em vez de configurar manualmente 20 variações de cores diferentes para uma renderização de produto, um script pode fazer isso enquanto você toma um café.
Melhor para:
Ativos de marketing, geração de catálogos e gestão de cenas complexas.
Scripts essenciais para buscar:
Renderização em Lote: Enfilera múltiplas câmeras e conjuntos de visualização automaticamente.
Renderização de Variações de Material: Renderiza automaticamente um modelo em cada material dentro de uma pasta específica.
Gerador de Turntable: Automatiza a criação do caminho da câmera para giros de produto em 360 graus.
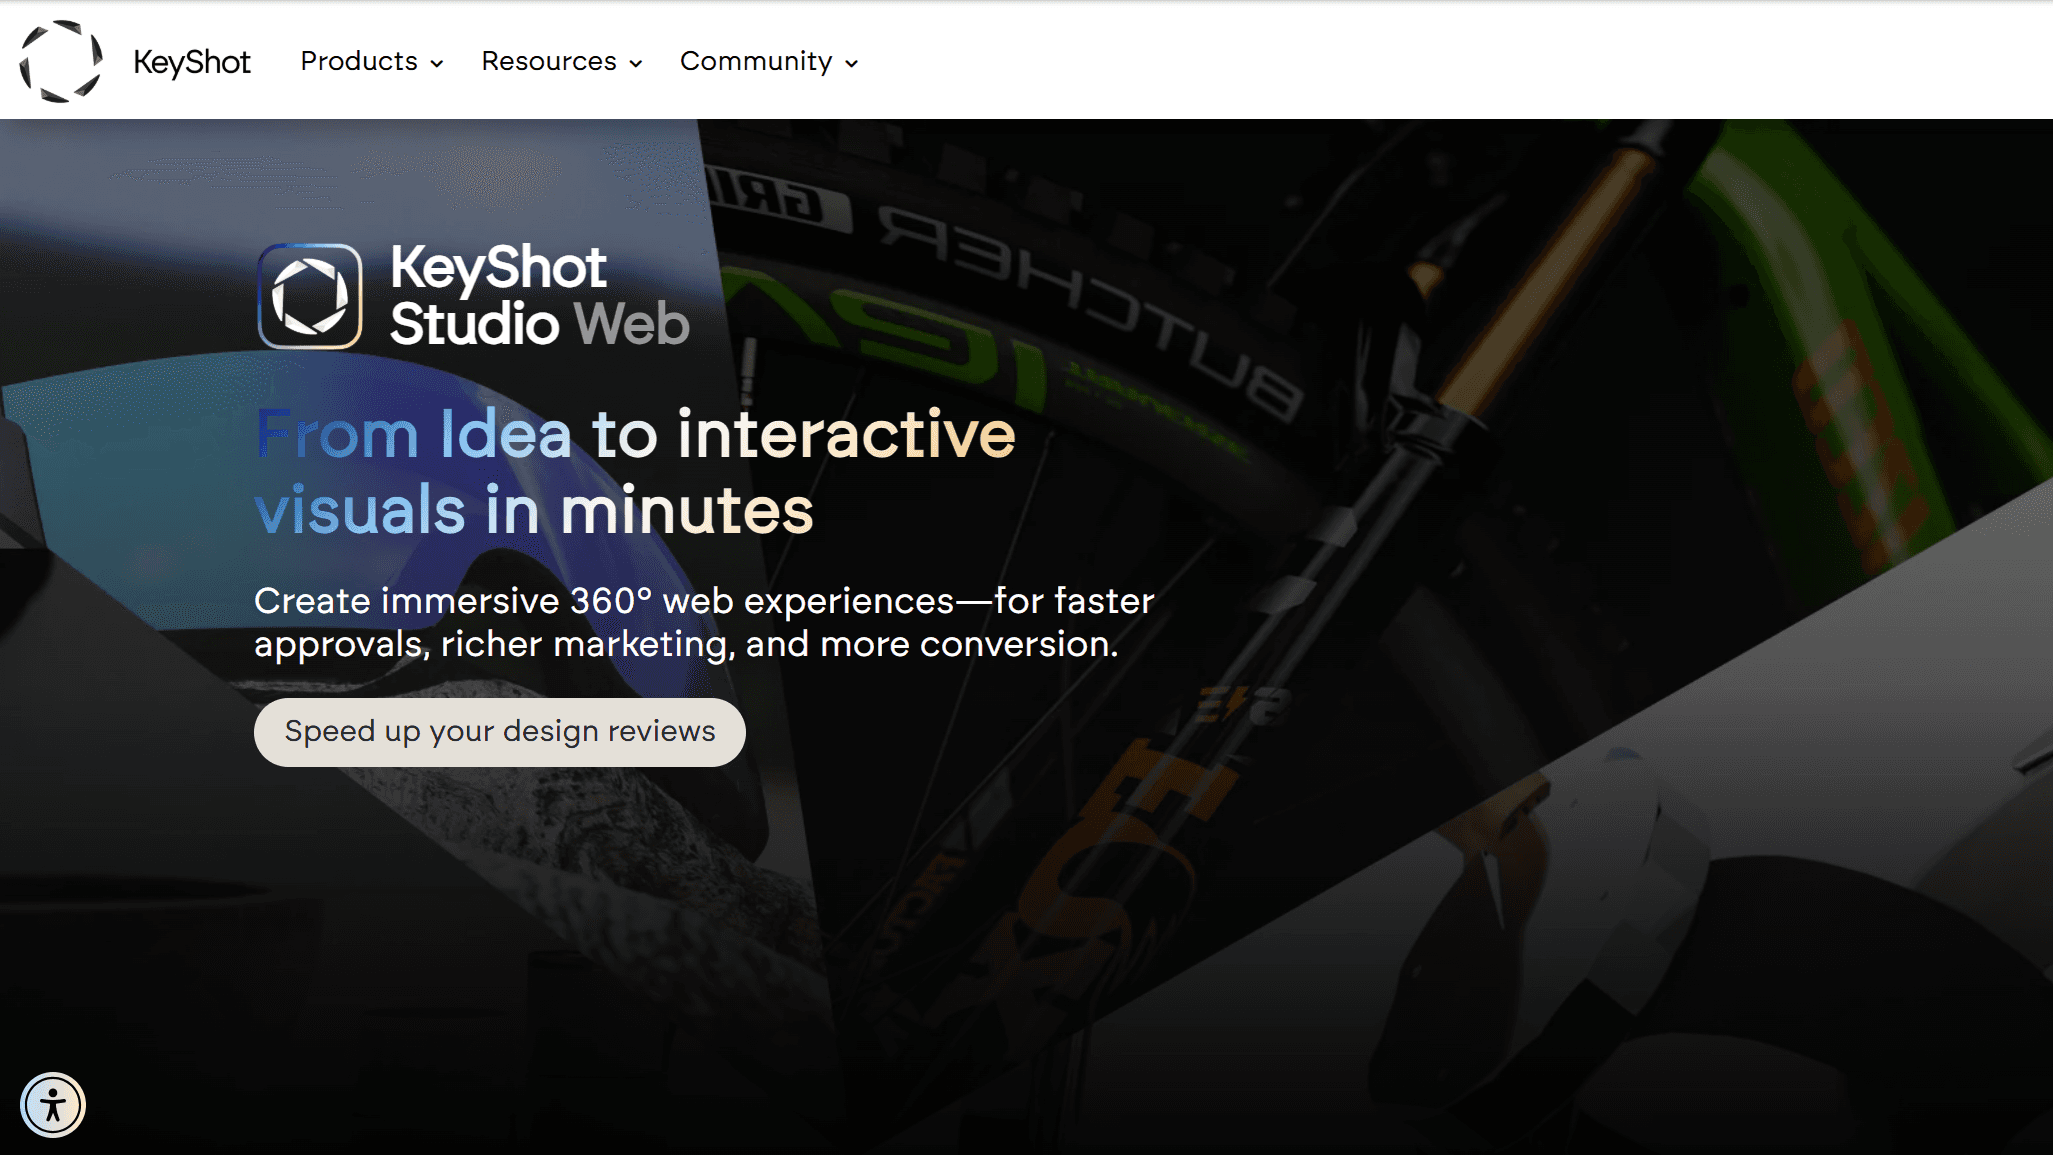
3/ KeyShotWeb (Saída Interativa)
Imagens estáticas muitas vezes não são suficientes para aprovações de clientes. KeyShotWeb é um módulo adicional (frequentemente vendido separadamente ou incluído em assinaturas Pro) que atua como uma extensão de saída.
O que ele faz:
Gera visuais 3D interativos baseados em navegador (KeyShotXR) que os clientes podem girar e aproximar sem precisar de nenhum software especial.
Por que isso importa:
Reduz os emails de "posso ver a parte de trás?". Enviar um link para um modelo interativo parece significativamente mais profissional do que enviar dez JPEGs estáticos anexados a um email.
Melhor para:
Apresentações finais para clientes e revisões de design onde o envolvimento das partes interessadas é baixo.
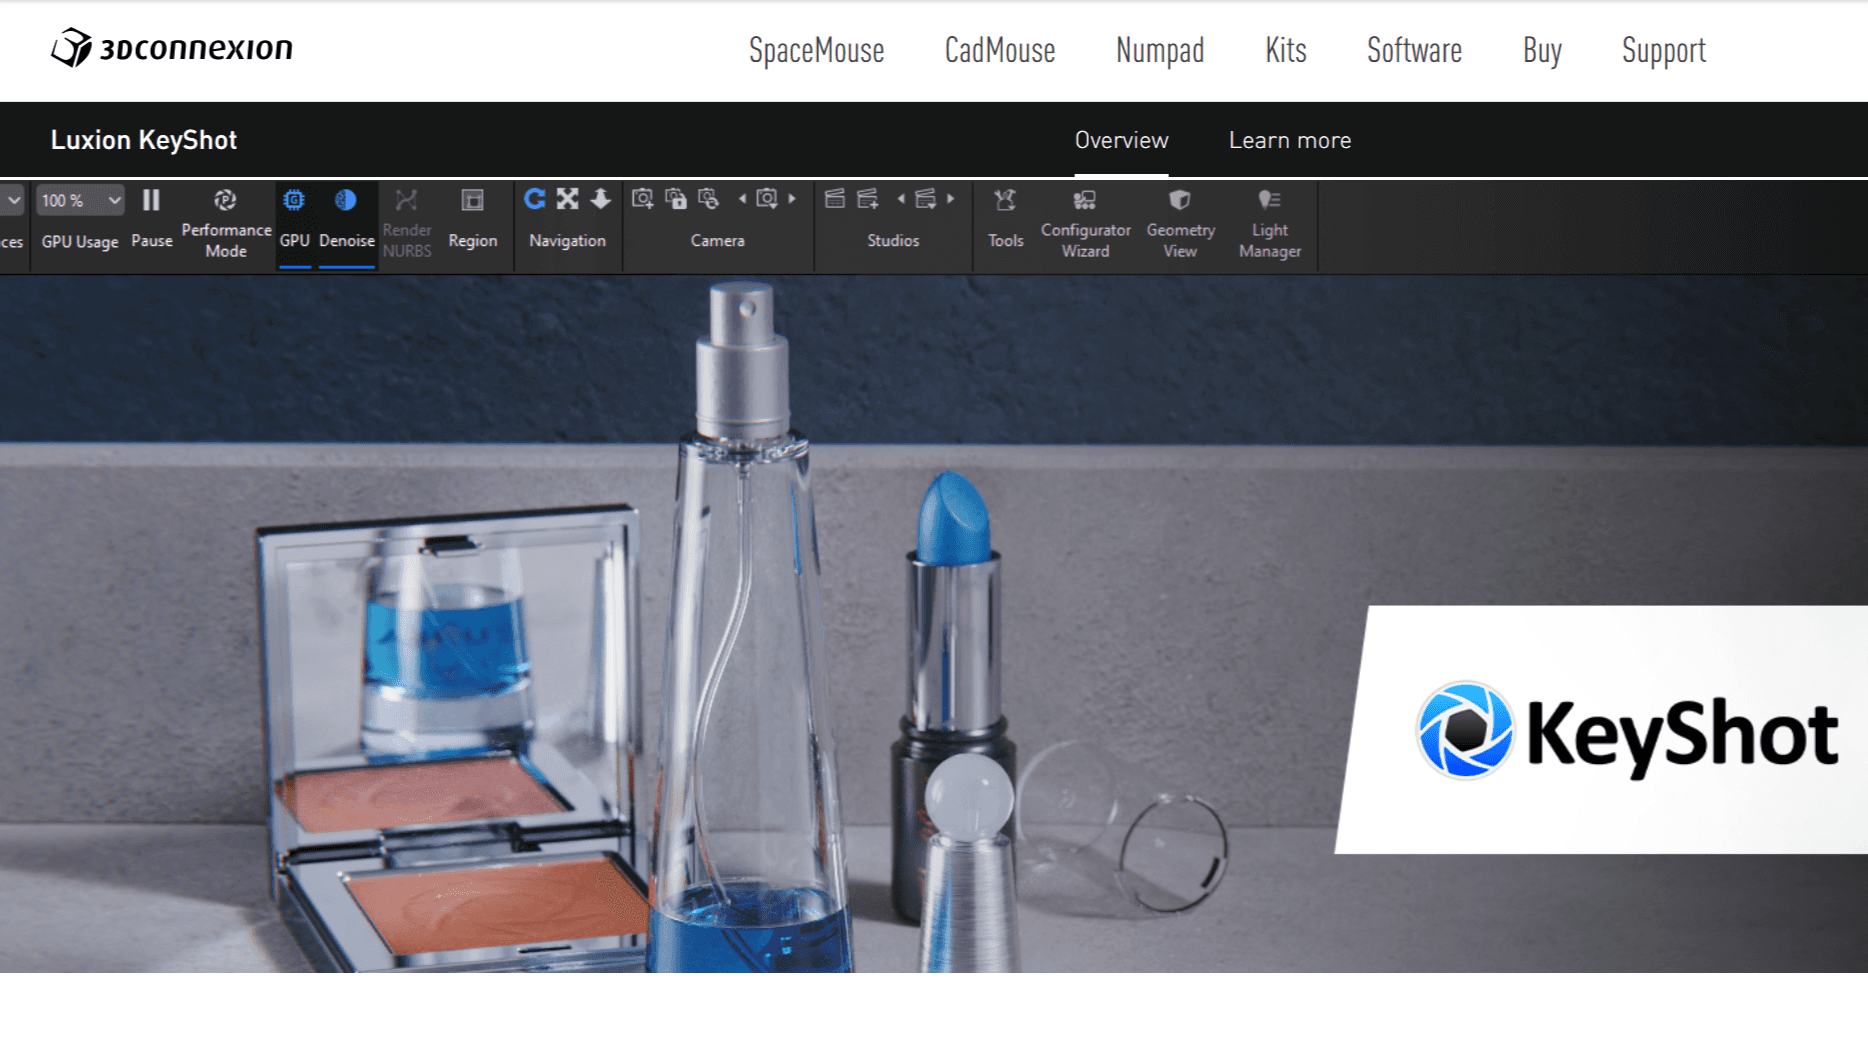
4/ Integração 3DConnexion (Extensão de Hardware)
Embora não seja um plugin de software, a integração com o hardware 3DConnexion SpaceMouse é o "extensão física" padrão da indústria para o KeyShot.
O que ele faz:
Permite navegação simultânea (pan/zoom/girar) e interação com o cursor. Você navega com uma mão e clica/arrasta materiais com a outra.
Por que isso importa:
O KeyShot depende muito do posicionamento preciso da câmera. Usar um mouse padrão para movimentos de câmera é complicado e frequentemente resulta em "luta" com a visualização. Esta integração faz a câmera parecer um objeto físico que você está segurando.
Melhor para:
Usuários intensivos que passam mais de 4 horas por dia na visualização.
5/ Extensões de Nuvem e Biblioteca do KeyShot
A biblioteca nativa do KeyShot é boa, mas o trabalho profissional frequentemente requer texturas específicas e de alta fidelidade que não estão incluídas originalmente.
O que ele faz:
A integração KeyShot Cloud (embutida na interface) permite que você baixe ativos gerados por usuários e oficiais da Luxion diretamente para sua biblioteca.
Por que isso importa:
Evita o "aspecto de plástico" que vem do uso de materiais padrão. Acessar gráficos de materiais complexos e verificados (como couro desgastado, metais riscados ou plásticos translúcidos) melhora instantaneamente o realismo.
Melhor para:
Renderizações de produto de alta fidelidade onde a imperfeição da superfície é crítica.

Escolhendo o que se adapta ao seu trabalho
O KeyShot é projetado para ser autossuficiente. Você não precisa de uma dúzia de plugins para fazê-lo funcionar.
Instale o LiveLink para sua ferramenta CAD imediatamente.
Explore o Console de Scripting se você se encontrar fazendo a mesma tarefa mais de três vezes por dia.
Ignore o resto até que você tenha um gargalo específico que os requeira.
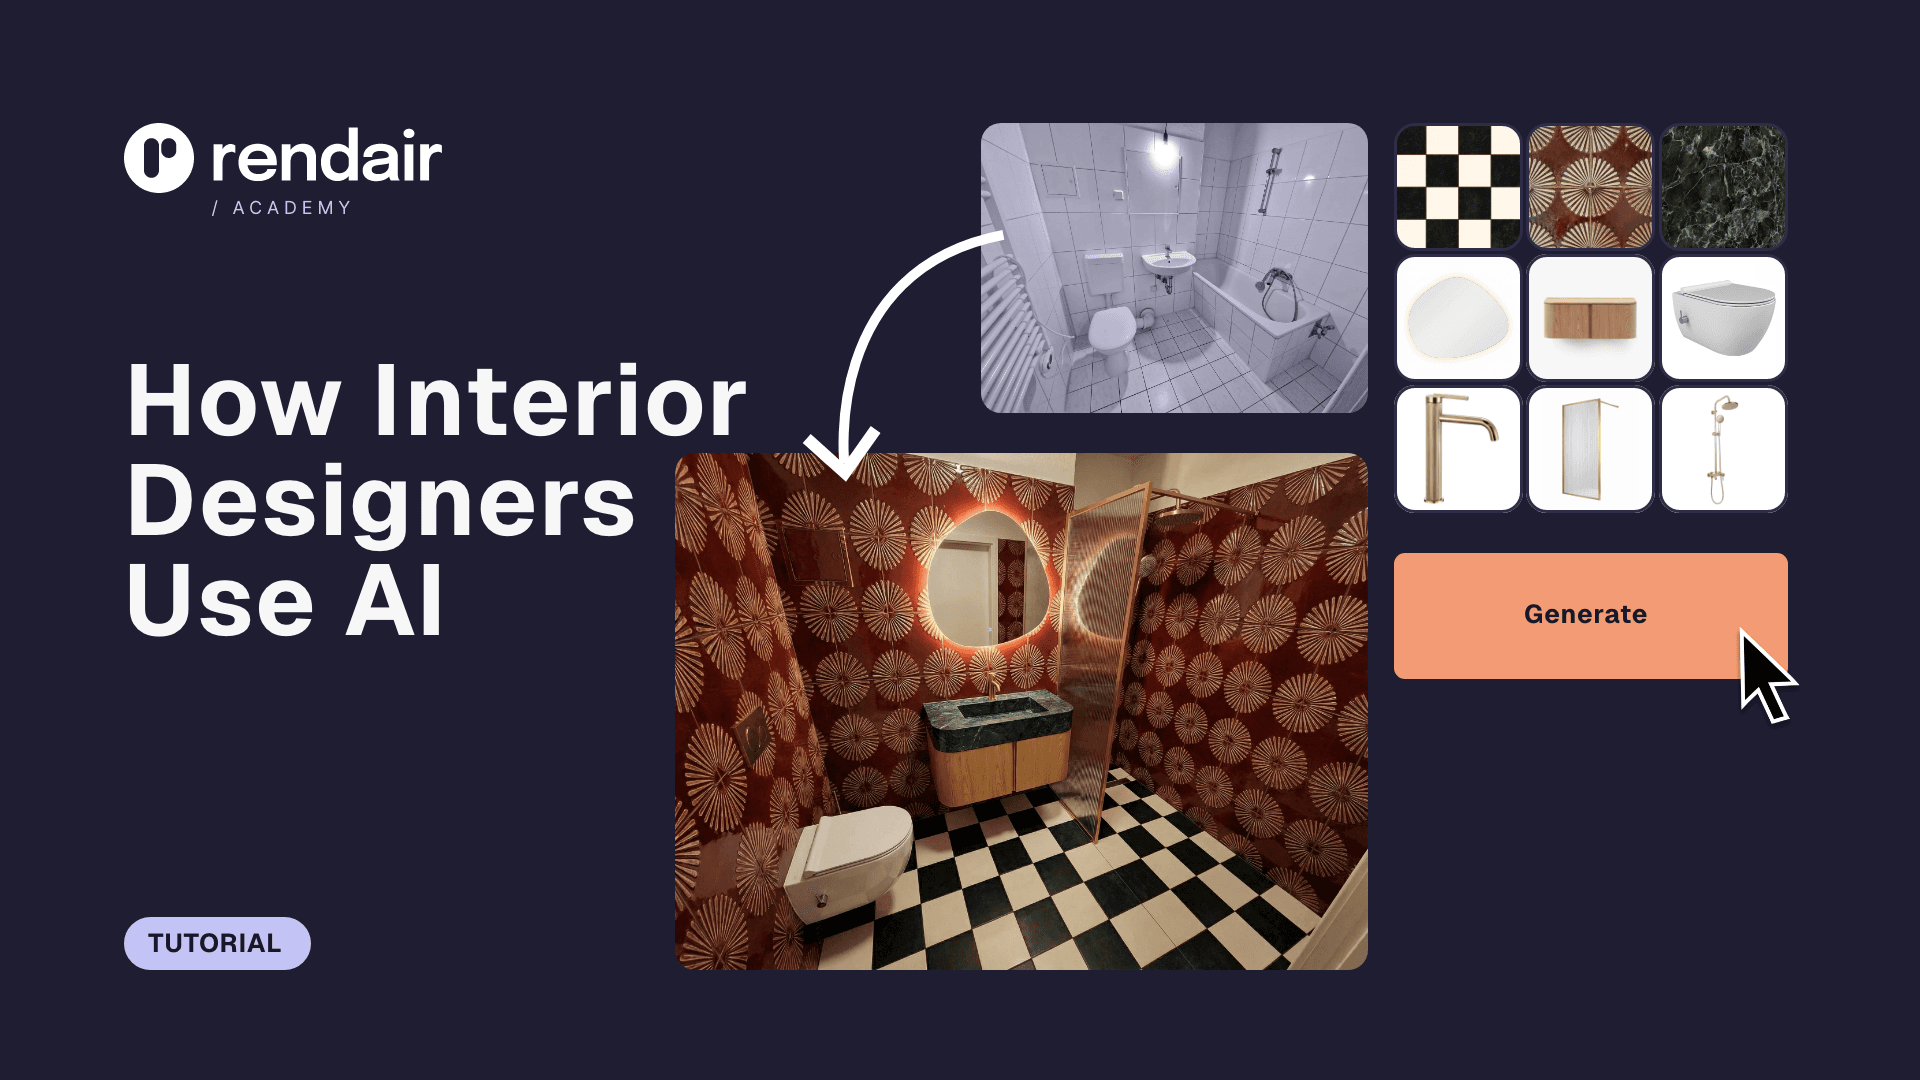
Bônus: Acelere a renderização sem sair do seu fluxo de trabalho
O KeyShot é poderoso, mas é computacionalmente pesado. Se você estiver tentando visualizar conceitos rapidamente, esperar que o ray-tracing se limpe pode matar seu impulso.
Rendair lida com visualização de forma diferente. Em vez de configurar ambientes de iluminação complexos e esperar por blocos de renderização, você pode enviar seus esboços CAD brutos ou viewports básicos do KeyShot e obter resultados fotorrealísticos em segundos usando IA.
É o companheiro perfeito para as fases iniciais quando a velocidade importa mais do que a simulação física perfeita.
Comece a criar – experimente grátis
Publicações Recentes


Junte-se a mais de 500.000 arquitetos que economizaram tempo. Não é necessário cartão de crédito para os seus primeiros 20 créditos.