Workflow: From 3D Model Base Image to a Cinematic Video

Feb 24, 2026

Creating a professional architectural walkthrough usually takes days of rendering and complex camera pathing. But what if you could go from a simple 3D base model to a cinematic video in just a few smart steps?
In this guide, I’ll show you the ultimate Rendair AI workflow to transform your raw 3D models into high-quality, animated render videos.
Step 1: Open Rendair AI and Go to Chat
Go to 👉 Rendair AI
Open the Rendair AI Chat Tool.

Step 2: Upload Your Base 3D Model Image
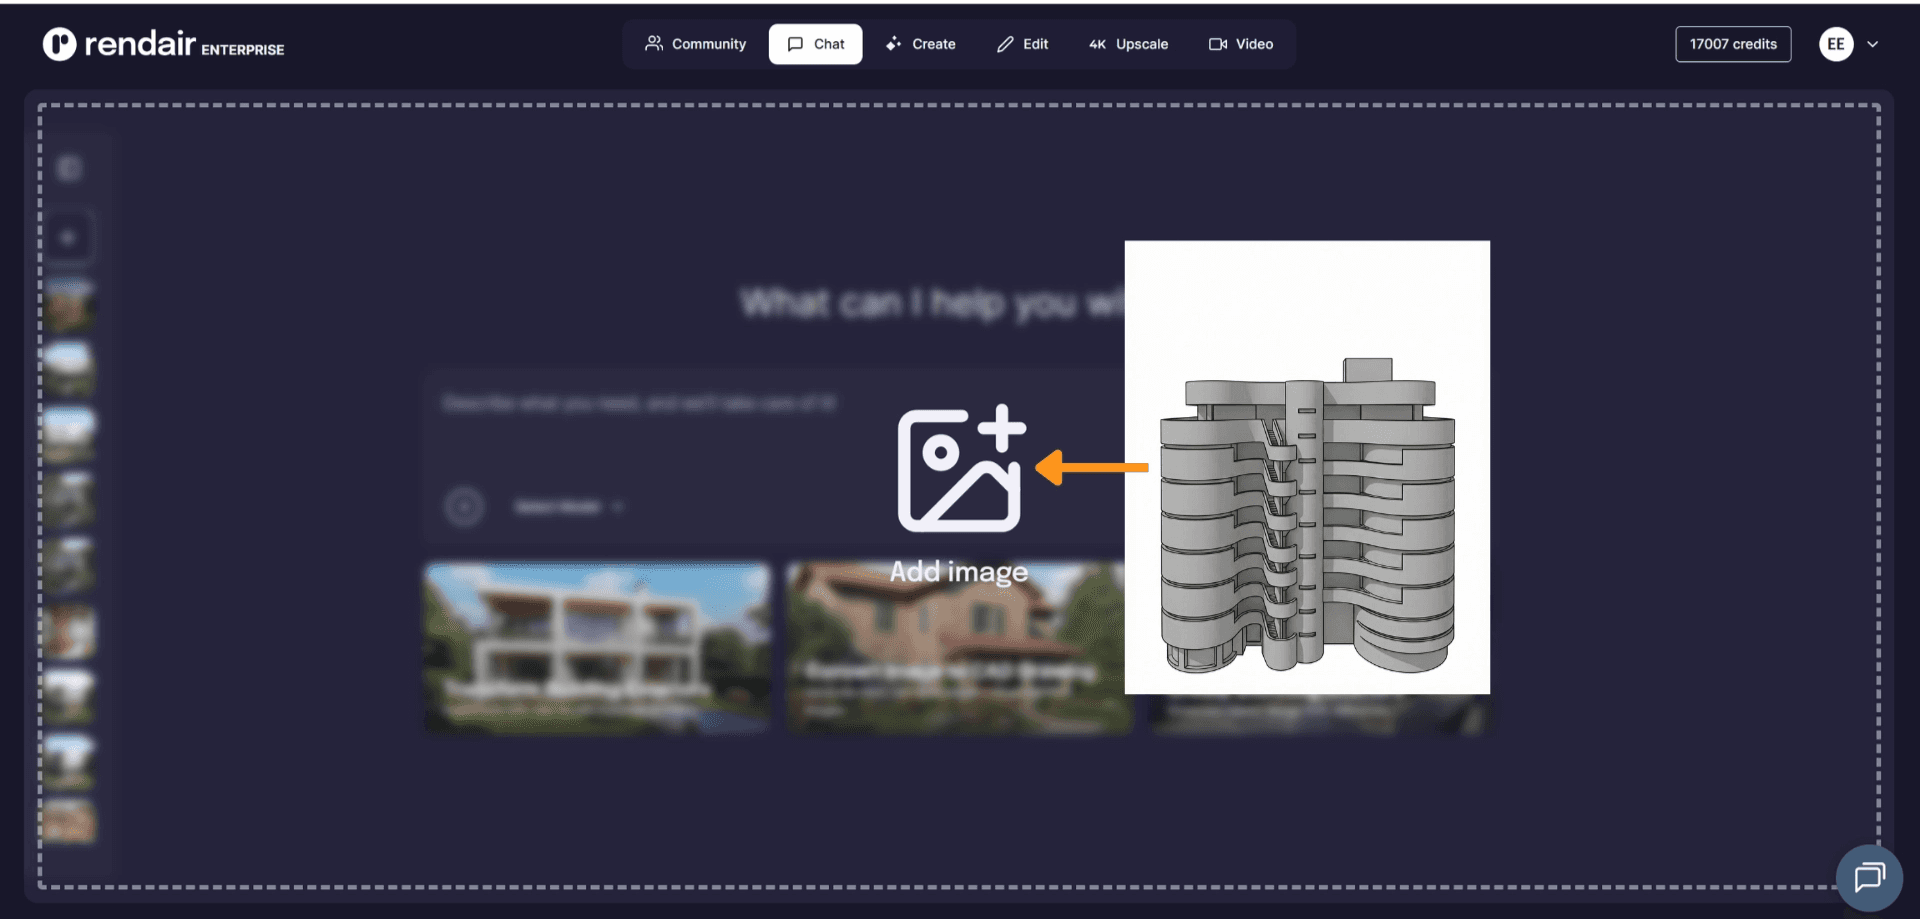
Step 3: Send the Prompt
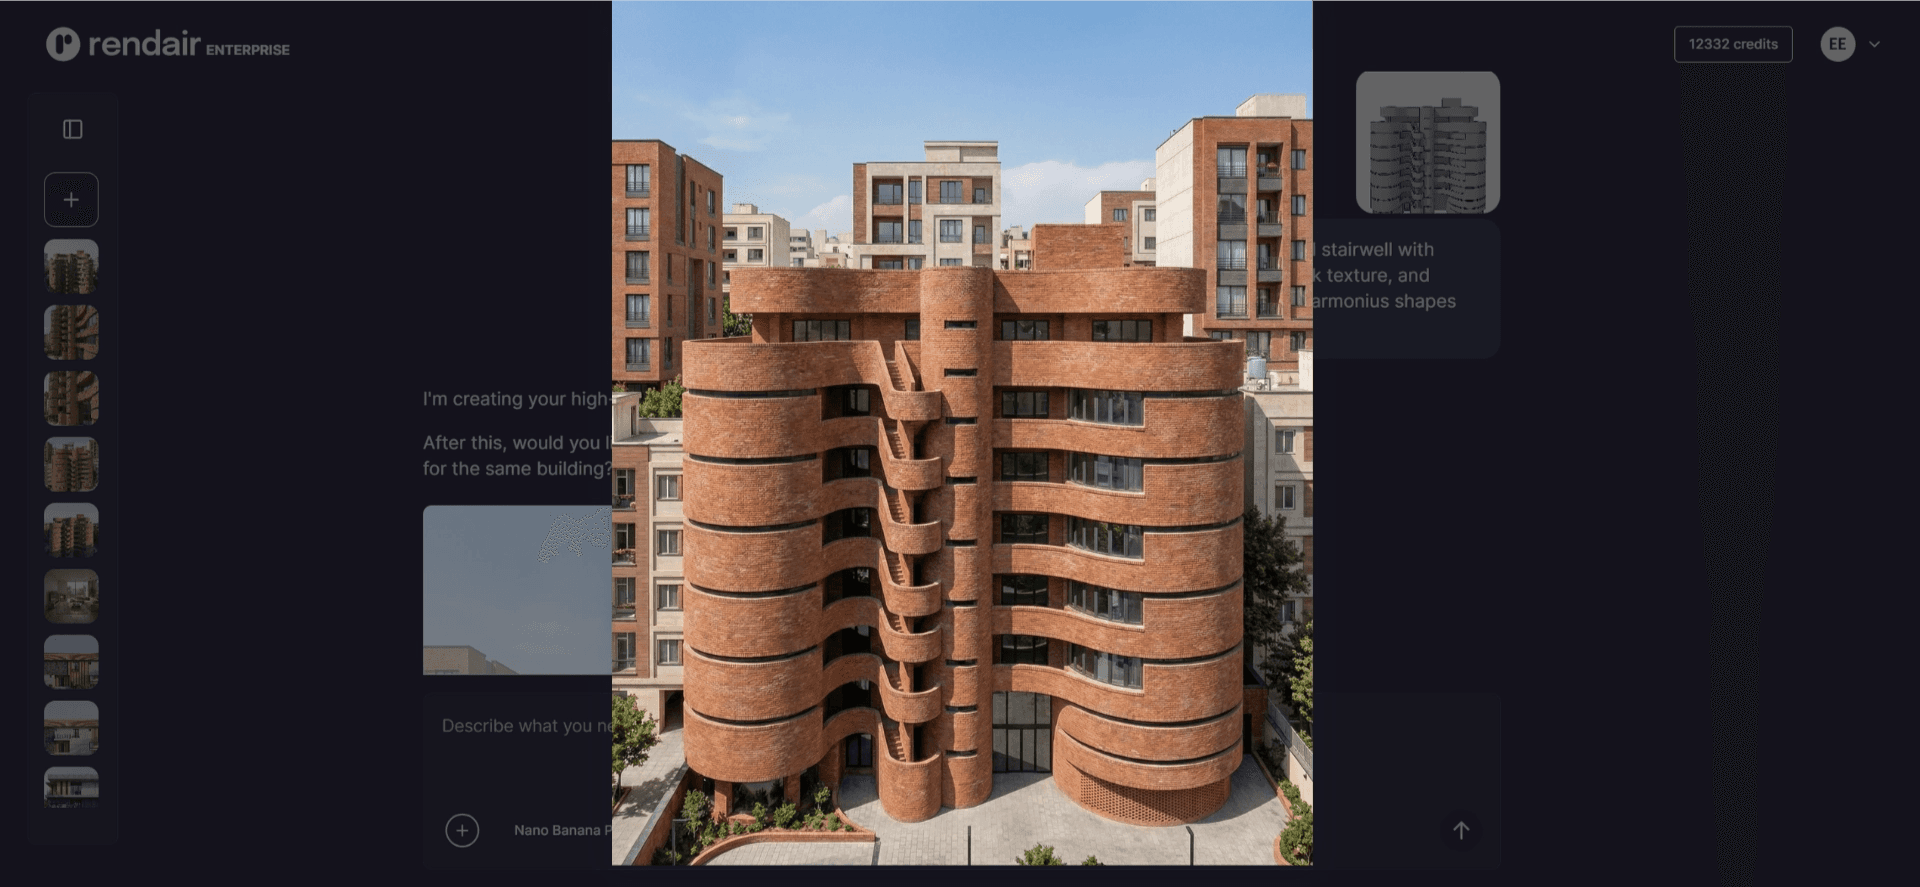
Select a Model, in this case I will use Nano Banana Pro and enter the prompt.
“Modern building, curved brick balconies and distinct cylindrical stairwell with smooth flowing brick architecture. large windows, realistic brick texture, and natural daylight. urban contemporary architectural style with harmonius shapes and shadow play.”

You will receive a high-quality realistic visualization of the building.
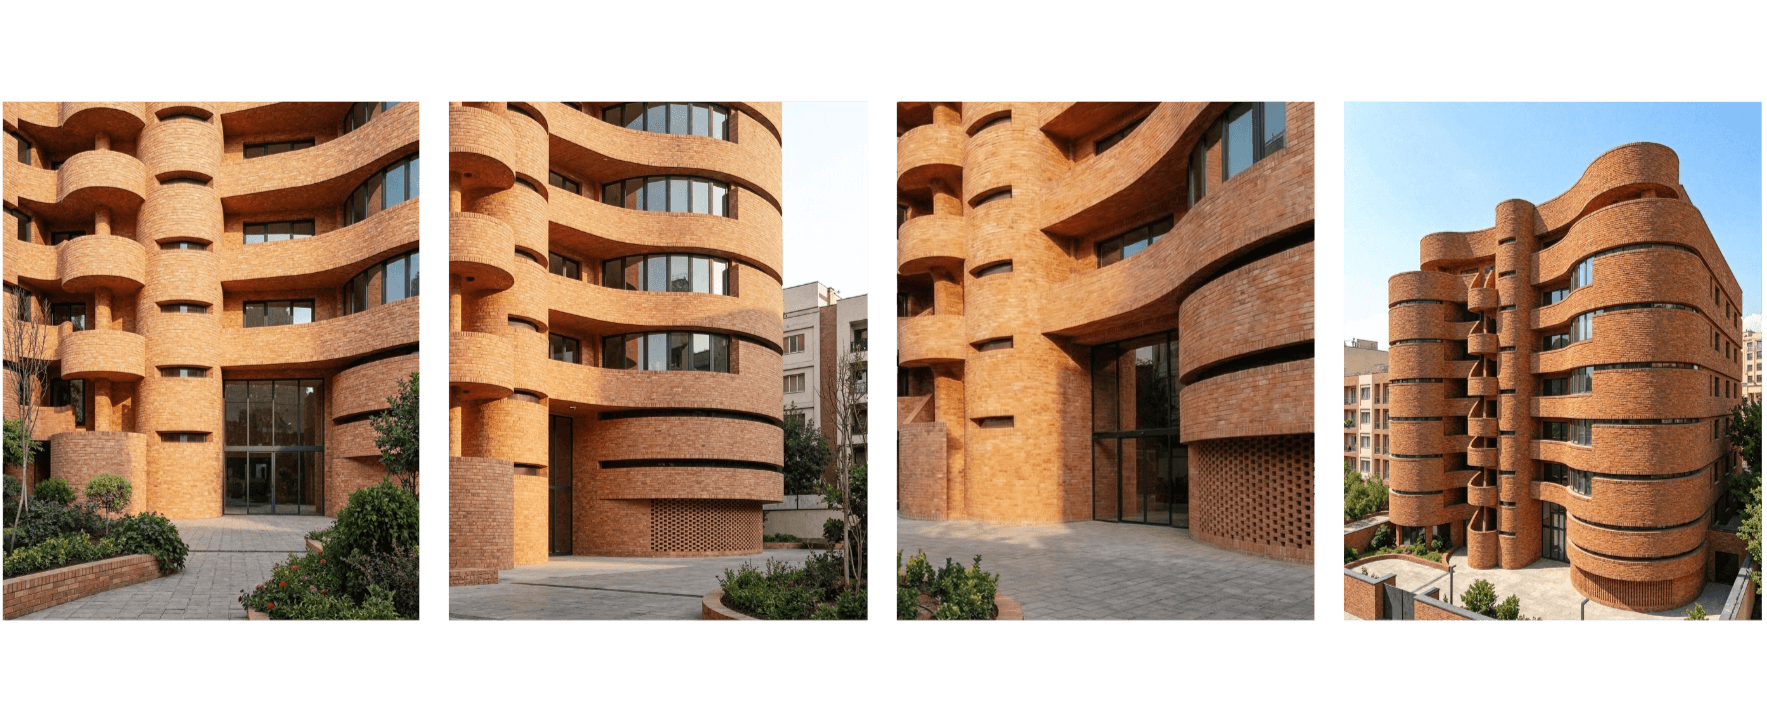
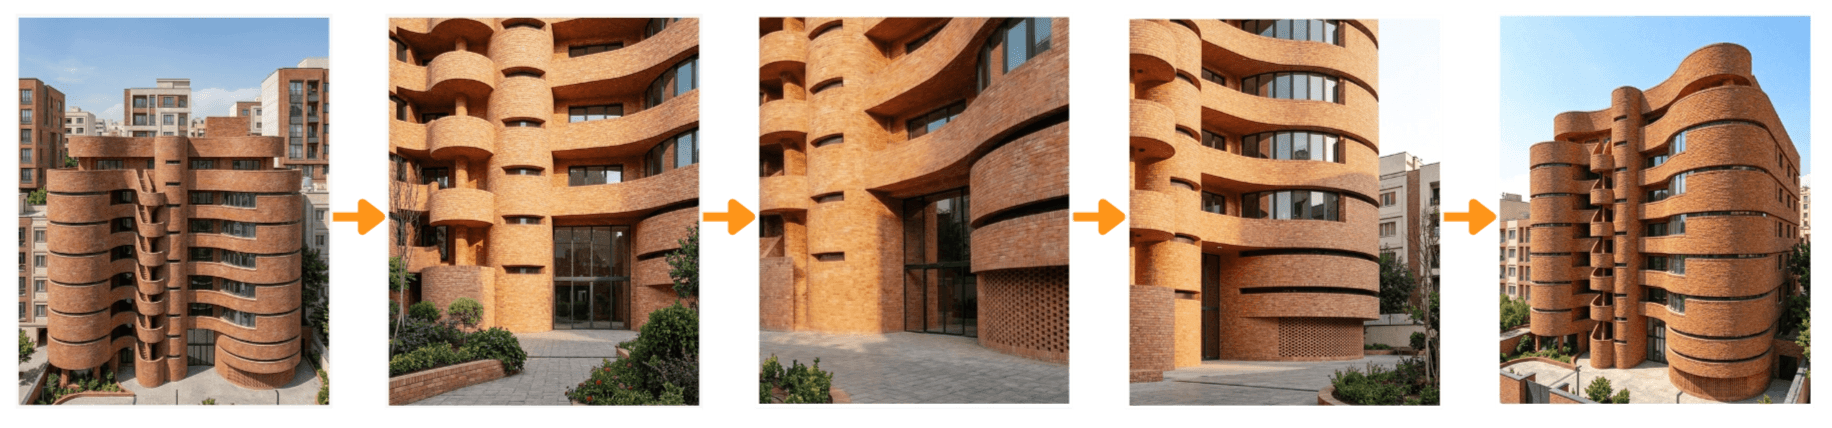
Step 4: Generate Images From Different Perspectives.
To create a video that feels like a drone flying around your building, we need to achieve consistent visuals. This is incredibly easy with Rendair AI! Just upload your rendered image to the chat and enter this prompt:
“See this building from different angle.”

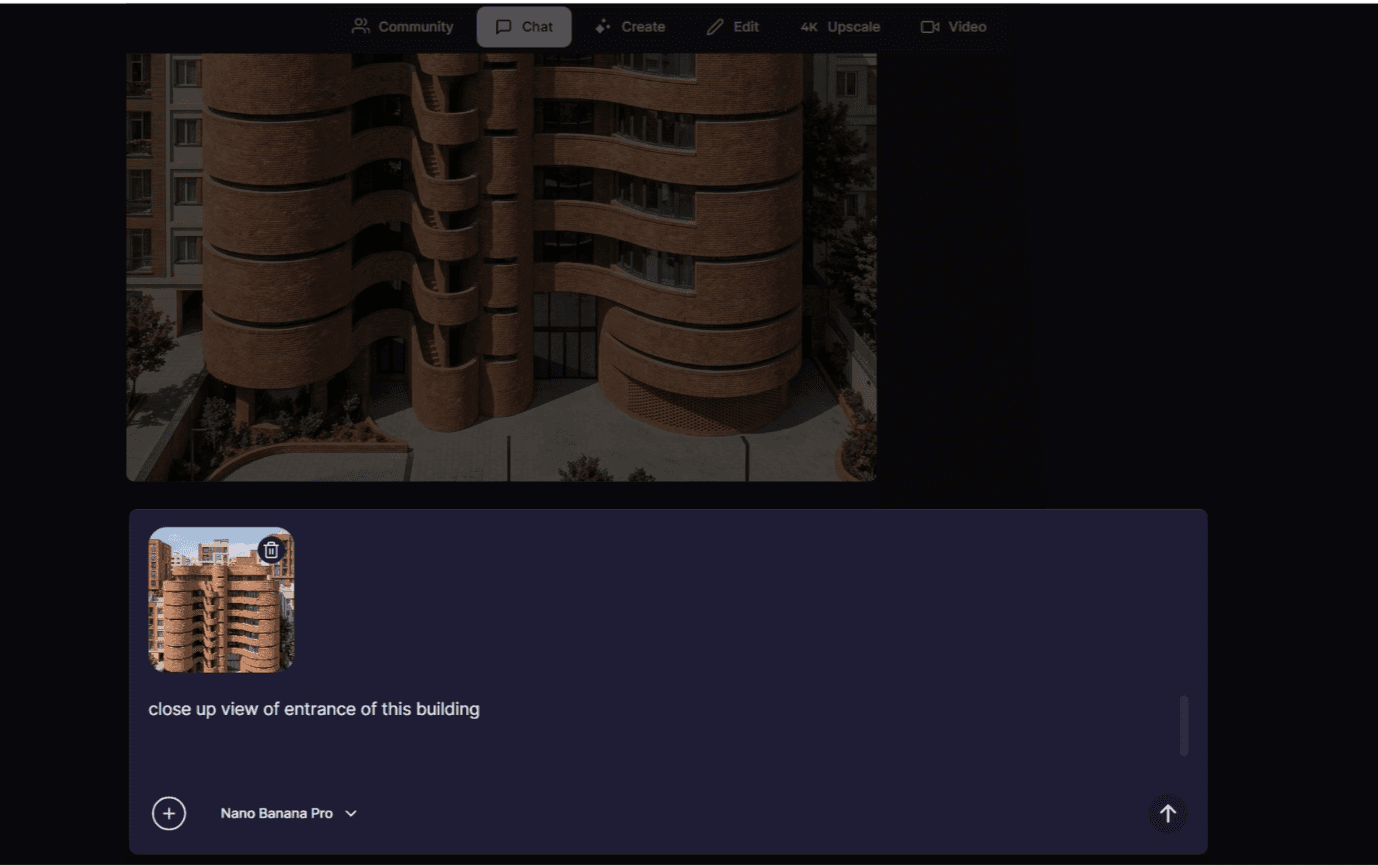
Repeat this step a few times. If you want to focus on a specific point, be sure to mention it clearly in your prompt. For example, if you want to capture a view of the entrance, use this prompt:
“Close up view of entrance of this building.”
You will get this kind of images:
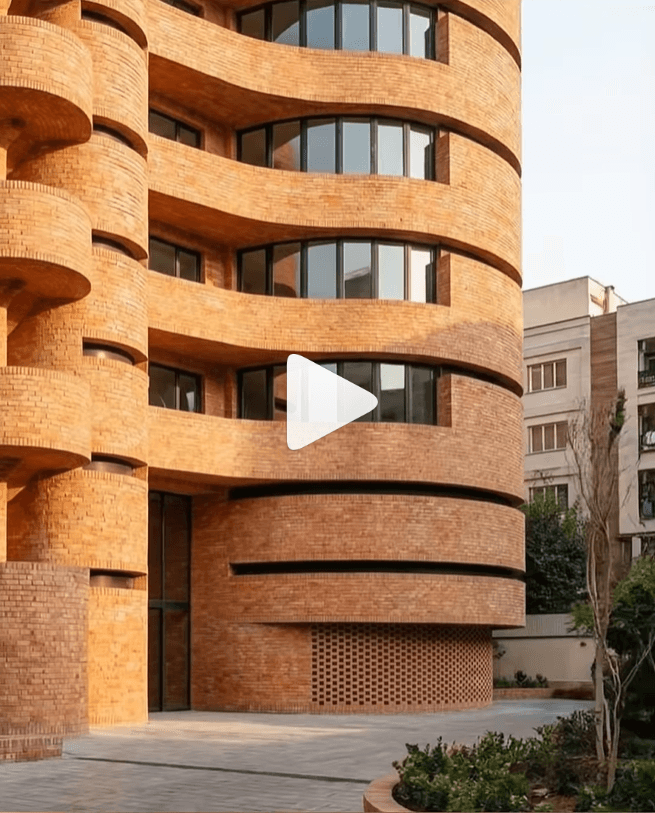
Step 5: Create the 3D Model to Rendered Image Video
First, we will create a transition video from the 3D model view to the main rendered image.

Step 5: Create Like A Drone Flying Video
To create a video that feels like a drone flying around your building, upload images to the Video Tool step by step. Repeat this action for the entire set of visuals.
This time, choose “Cinematic Drone” from Motion Preset.
Bonus Step: Floor Transition Video
To create a video showing the floors rising from the 1st floor to the finished building, upload the first floor of your 3D model and the final version to the Video Tool. Then, enter this prompt:
“The building should rise from the ground floor upwards. All floors should be constructed individually, starting from the ground upwards.”
Final Result
Check final result in Instagram
Conclusion
Transforming a static 3D model into a professional, moving story has never been this accessible. By following this workflow, you move beyond simple visualization, you provide a cinematic experience that highlights the scale, detail, and emotion of your design. From cinematic drone-style shots to step-by-step construction reveals, Rendair AI provides the tools you need to make your projects truly stand out.
Ready to see your designs in motion? 👉 Open Rendair AI and create your first rendered video today!
Recent Posts


Join 500,000+ architects who saved time. No credit card needed for your first 20 credits.