
How do I insert an object into an image?
Last Updated: Feb 16, 2026
Answer
You can insert objects into an image by using the editing tools to mask a specific area with a brush or lasso. Once the area is selected, describe the object you want to add in the prompt, and the AI will generate it to match the lighting and perspective of the existing scene.
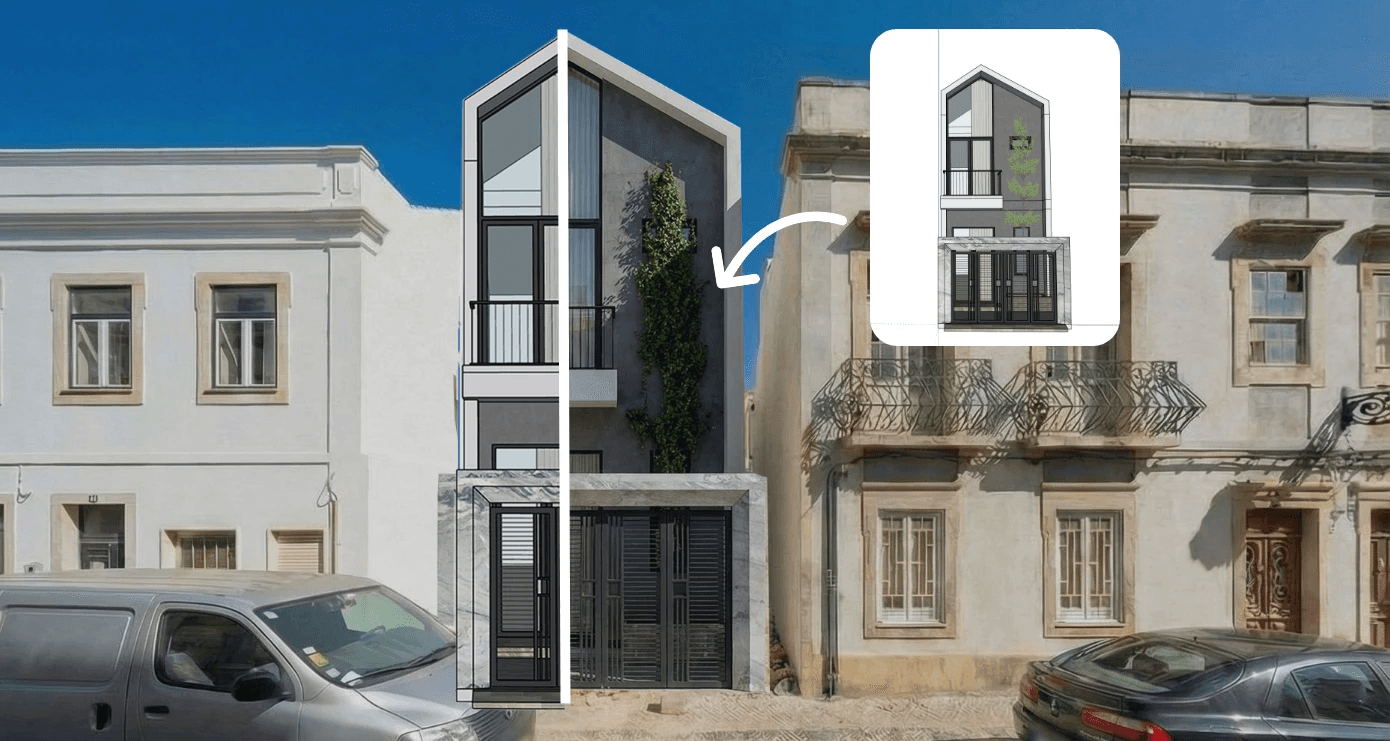
How to Insert a 3D Model into a Real Location
Overview
Inserting objects is a core part of the editing workflow in Rendair AI. This process, often called "inpainting," allows you to add elements to a rendered image, a photograph, or a sketch without needing to re-render the entire scene in 3D software.
This capability is essential for virtual staging, adding entourage like people or vegetation, and making quick adjustments during client reviews. The goal is to blend new elements seamlessly into the original image so they appear to have been there from the start.
How it works
The process relies on defining a target area and providing a text description.
Select the tool
Open your base image in the editor and choose the selection tool, such as the brush or lasso.
Define the area
Paint over the specific spot where you want the new object to appear. The size and shape of your selection help the AI understand the scale and orientation of the object.
Describe the addition
In the prompt box, type exactly what you want to see in that space (e.g., "a velvet green armchair" or "a potted olive tree").
Generate
Run the generation. The platform analyzes the surrounding pixels to ensure the new object respects the existing shadows, lighting direction, and perspective.
Capabilities
This feature supports various workflows for architects and designers:
Virtual staging
Turn empty room photographs into furnished spaces by masking floor areas and prompting for furniture.
Adding entourage
Insert realistic people, pets, or cars into architectural renders to show scale and liveliness.
Landscaping adjustments
Add specific trees, shrubs, or plants to exterior shots to test different landscape designs.
3D model insertion
For specific workflows requiring precise geometry, some tools allow you to import 3D files (such as .obj or .fbx) to place exact models before rendering them into the scene.
Inputs and outputs
Inputs
Base Images: JPG, PNG, WEBP, TIFF, HEIC, AVIF (max 300MB).
3D Files: OBJ, FBX, STL, or 3DS (for specific 3D insertion tools).
Prompts: Text descriptions in any supported language.
Outputs
Resolution: The output maintains the aspect ratio of the base image.
Quality: High-resolution downloads available (commonly 2K, 4K, or higher depending on the upscale settings used after editing).
When to use this
Client feedback loops
When a client asks to see a different chair or a plant in a corner during a meeting.
Marketing materials
When you need to make a technical rendering feel more "lived-in" for a brochure.
Renovation previews
When you want to show how a new fixture would look in an existing space without building a full 3D model.
Limitations or notes
Selection accuracy
The shape of your mask influences the result. If you mask a tall, thin area and ask for a sofa, the AI may struggle to fit it. Try to match the mask shape to the object's expected proportions.
Lighting consistency
While the AI is excellent at matching lighting, extreme lighting conditions in the base image may occasionally require multiple attempts to get perfect shadow alignment.
Credit usage
Inserting objects consumes credits just like generating new images.
3D vs. AI
For specific branded furniture where exact dimensions are legally required, using the 3D file import workflow is recommended over text-prompting.
Do you have another question?
Search Our Knowledge Base…
Still Need Help?
Explore the platform's capabilities through a personalized demonstration or try it for free.
Contact support: support@rendair.ai
Documentation: Rendair Guides
Book A Demo: Book A Demo Session